A place for every thread.
Nest collections around a project, character, scene, or deliverable. Use tags to connect related work across those boundaries.
The open-source AI studio
Generate images. Direct video. Compose audio.
Your creative ingredients, together in a studio
you make your own.
Your hardware. Your models. Your kind of magic.
A little idea. A whole studio.
Start with something you want to make.
Discover what you can do with it.
Explore your studio

One place to create.
Everything around it, too.
01 / The creative process, from first idea to next iteration
Build your prompt, choose your tools, watch an idea take shape. Then see where the result takes you.
Keep the subject. Change the scene. Reusable segments let you develop an idea without starting from a blank page.
Single entry. One reusable piece of your prompt, filed under the Subject category.
Categories organize individual entries. Templates bring a set of segments together.
A preset brings a model and its controls together. Explore how the workspace adapts to what you want to make.
Turn a description into an image, then enhance the result. The preset puts the model’s own controls within reach.
The First Light examples use Krea-2’s image generation preset.
 Your local engine or a
connected generation server.
The image arrives in your gallery. Its prompt, model, and settings are saved to History, ready for your next idea.
Browse directions, compare them side by side, and take what works into your next generation.
02 / Give your work a home
Gather your favorites into collections. Keep a project, a mood, or your next big idea in view.
No favorites yet. Pick a result to start your collection.
Your favorites, together. Their original generations stay in History.
03 / Pick up where inspiration left off
Every generation keeps its prompt, model, and settings. Return to any idea and take it somewhere new.
Product study is ready to revisit.
04 / Yours, with room for others
Give everyone their own account. Choose which models and tools they can use, individually or as a group.
Pick a person. Shape their toolkit.
01 / 04 One product. Room to explore.
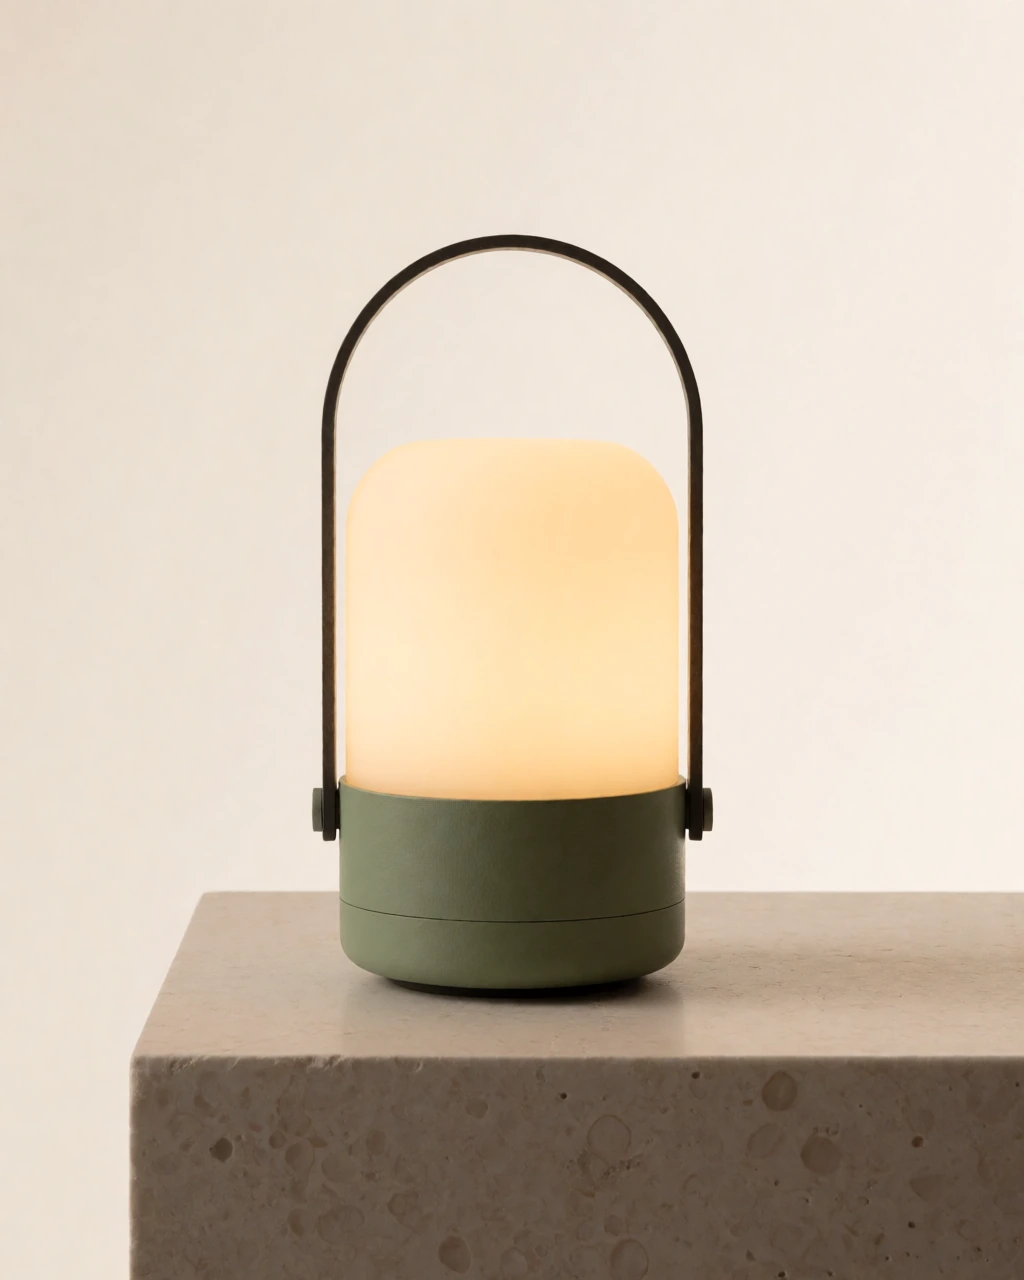
Describe a lantern, adjust the image settings, and see the result beside your prompt. This product study is the starting point for the First Light campaign below.
01 / Native model support
PotionUI includes ready-to-use presets: a model’s controls and starting settings, brought together for you. Download the model in the app, choose its preset, and start creating.
02 / From an experiment to a whole project
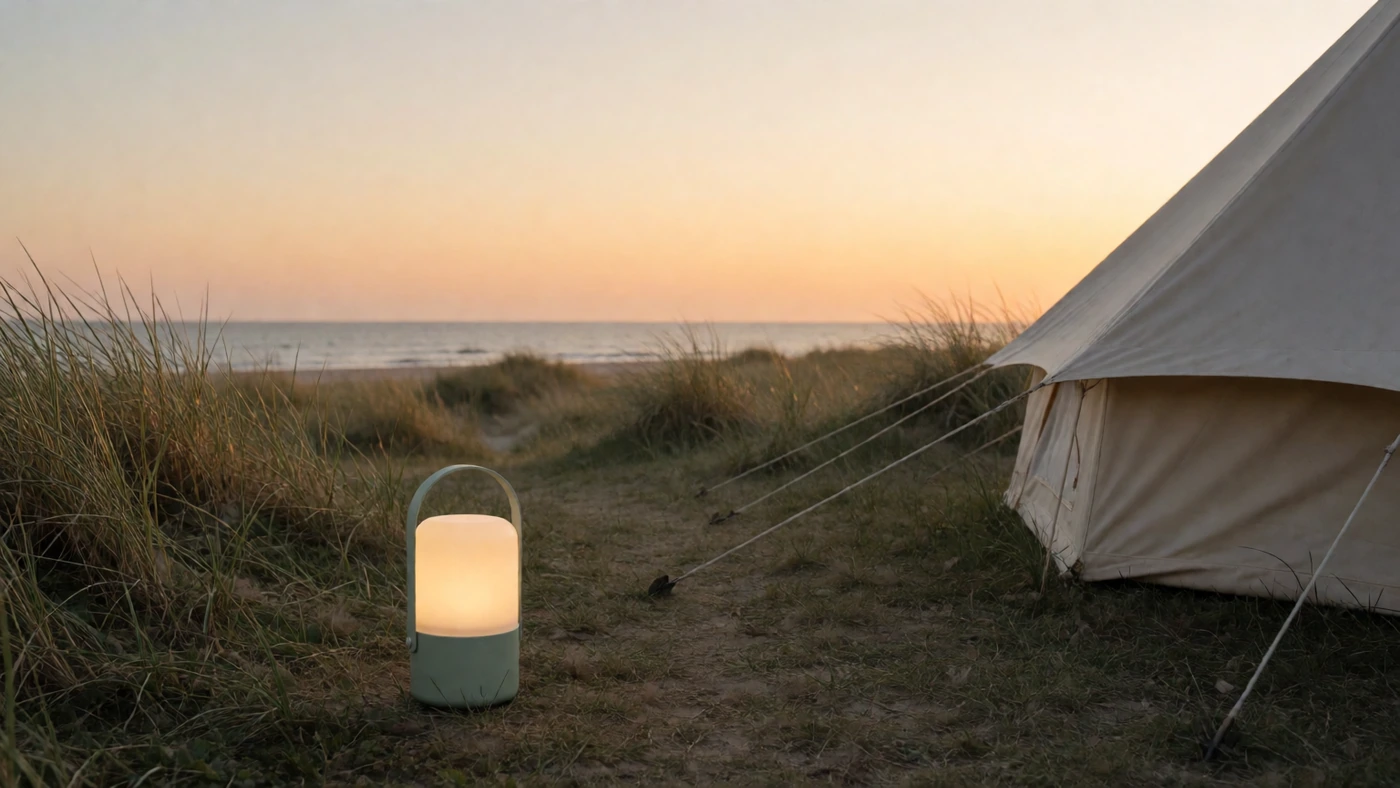
Your first image can grow into a whole project. The First Light example follows a lantern from product studies to locations and campaign artwork, keeping the results and their settings together.
Inside the demo studioNorthline Studio / First Light
A fictional outdoor campaign, made in PotionUI.
36 image studies · 18 selected references · 40 saved prompts
36 real image studies, nested project collections, tags, and reviewed selections. Product photography, locations, people, and graphic explorations keep their original dimensions and settings.
One brief.
Many ways
to see it.
Nest collections around a project, character, scene, or deliverable. Use tags to connect related work across those boundaries.
Search by keyword or meaning. Filter by media, preset, rating, and date. Open a result to recover its prompt, seed, models, and settings.
Work in tabs, save sessions, compare outputs, and reuse a generation’s settings. Return to an experiment with its context intact.
03 / Give the good ideas somewhere to live
The references you collect and the language you refine become part of your studio. Bring them into the next image, scene, or project.
18 selected campaign images, organized into product, location, people, and art-direction references. The film’s starting images live here too, ready to reuse.
Keep complete compositions, including their segments and variables. Build on a useful starting point for the next brief.
Save reusable pieces of a prompt. Give templates named slots so a composition can adapt to a new subject or scene.
Build categories for lighting, palettes, camera language, and style. Pin a phrase or let a category introduce variation.
Upload references and source media, or save useful outputs to your asset library. Organize them for reuse in generation.
Share a result with its settings and technique. Discuss it, save its media, and use it as the starting point for something new.
Name the things that change. Reuse a subject across segments and explore controlled variations within a composition.
04 / Follow the idea
Work with the structure the medium needs: model-specific image controls, timed video prompts, song sections, and reference images for 3D.
The campaign’s launch film in development: choose a starting frame, give each shot its own timing and prompt, and decide where to make a fresh cut or continue a scene.
Generate, edit, inpaint, or upscale. Choose a model and get the controls that belong to it.
Flux · Qwen-Image · Krea-2 · SDXLBuild video with prompts, keyframes, and connected shots in Video Director.
Wan · LTX · MiniMax-H3Write verses and choruses as reusable prompt segments. Describe the sound, vocals, and arrangement in the music preset’s form.
MiniMax-Music3 ExperimentalTurn a reference image into a 3D mesh, then inspect materials and wireframes in History.
TRELLIS.2Capabilities depend on the model and your hardware. LTX, MiniMax-H3, and Music3 still await full GPU validation. Find the right fit for your setup
05 / The studio behind the studio
Administration is part of the product. Manage the people, presets, models, and compute that turn your installation into a shared creative space.
The demo’s producer, stills, and motion accounts sit in a shared Northline Studio group. Manage account roles, resource access, and whether each user can connect an MCP client.
Create users and groups. Assign access to presets, models, and assistant configurations. Control which accounts can connect through MCP.
Give people a useful starting point. Override defaults, lock selected settings, or hide advanced fields for an installed preset.
Index and organize model files, manage downloads, and connect local generation, remote GPU workers, or a ComfyUI backend.
Make the routine repeatable
Connect the routine work around generation. This template watches for new model files, indexes them, and sends an in-app notification. Add conditions and more actions as the studio grows.
Shown: a paused First Light demo automation. Build with schedules, file changes, or app events; inspect each run after enabling your automation.
06 / Optional: build your own preset
Want to go further? Building your own presets is optional. Define a YAML form and backend pipeline when you want controls tailored to your project, or keep creating with the included presets.
form.ymlThe controls in your UIpipeline.ymlThe work in your backendform.ymlfields:
- name: steps
type: slider
label: Steps
default: 24
configuration:
min: 1
max: 60
- name: enhance_enabled
type: boolean
label: Enhance
default: falseFields, labels, defaults, and validation. You decide what people can adjust.
An integer, validated from 1 to 60.
24 generation steps, then save the result.
form.steps = 24 · form.enhance_enabled = false
pipeline.ymlpipeline:
- name: generator/krea2
id: generator
configuration:
steps: "{{ form.steps }}"
- name: generator/krea2
id: enhancer
enabled: "{{ form.enhance_enabled }}"
input:
- [image, generator, image]
configuration:
mode: img2img
img2img_scale: 2.0A field can set a value or switch an entire processing stage on and off.
Illustrative Krea-2 excerpt. Model loading, conditioning, and output steps are omitted here. Read the full pipeline
Plain YAML, documented schemas, a scaffold command, and a linter. Give your LLM agent a concrete contract to work against.
Compose model pickers, media inputs, sliders, tabs, and conditional fields. Create different modes and form variants for different jobs.
Bind and validate values on the server, connect pipeline steps, then make that preset available to the people who need it.
07 / Leave room for your next idea
Presets define the experience. Plugins add new capabilities: engines, model providers, processing steps, form controls, and whole pages.
Import a ComfyUI Export (API) workflow, choose the fields people see, and make it available as a PotionUI preset. Connect it to your ComfyUI server.
The catalogue includes Krea 2 Edit, Spritesheet Generator, TRELLIS.2, Stable Audio 3, model providers, and compute integrations. Enable the pieces you need.
Use the documented plugin API to add a backend, pipeline step, field type, or frontend page. Bundle presets that put the new capability in people’s hands.
08 / The studio is open
PotionUI is free, open-source software. Install it on your machine and open the studio in your browser.
View GitHub repository (opens in a new tab)Start with SDXL
16–24 GB VRAM and 32 GB RAM recommended for more room to explore. Larger models need more.
Check your hardware# 01 / Get the studio
git clone https://github.com/PotionUI/PotionUI.git potionui
cd potionui
# 02 / Check your setup
./potionui doctor
# 03 / Make something
./potionui startRequires Git, Python 3.12+, Node.js 18+, and a supported NVIDIA GPU with driver 580+. On Windows, use WSL2; this path is not yet verified.
In the making PotionUI is in alpha. Expect rough edges and changes between releases. Your feedback helps shape what comes next.
Before you settle in
Yes. PotionUI is free, open-source software under GPL-3.0. There is no PotionUI subscription or credit meter. You provide the hardware or pay for any remote compute and optional services you choose. Model weights have their own licenses.
No. PotionUI has a built-in generation engine and model-specific forms. Pick an installed preset, write a prompt, and generate. If you already use ComfyUI, you can connect its server and import your ComfyUI workflows as presets.
The tested setup is Linux x86_64 with a Turing-or-newer NVIDIA GPU, driver 580+, at least 8 GB VRAM, and 16 GB RAM for SDXL. Docker is supported. Windows via WSL2 is not yet verified; native Windows, local macOS generation, and AMD GPUs are not supported. A remote install can send work to a separate GPU worker. Read the full hardware guide.
With the local engine, generation runs on your hardware and outputs are stored on your server. If you enable a remote backend or an external assistant provider, the inputs that service needs are sent there. You choose which backends and services your studio uses.
Presets and their controls are included; model weights are not. Download the models you want through the studio. Each model has its own hardware requirements, supported modes, and license. Some newer integrations are experimental — check their model documentation before setting them up.
Yes. An administrator can create accounts and groups, assign presets and model access, customize forms, and configure backends. Your people access the shared studio through their browsers, using their own logins.
Go make something.